My daughter calls rubber…Ninja Flex. No that is not a cute name she came up with, but a type of flexible filament for 3D printers. When I heard this it solidified by decision that I had to get a 3D printer. At six she has every expectation that she can make anything she wants on a 3D printer, an expectation that is only slightly unreasonable. It is also an expectation that I want to support. When we have down time we watch James Bruton and other YouTube makers come up with incredible creations using their 3D printers. We also have access to a 3D printer at Quelab and have done some printing there. Unfortunately, it isn’t practical for me to spend the type of time at Quelab to do the experimenting I want. We also don’t have the time to stay there and watch the huge backlog of prints I want to do (my son has a backlog of 3D prints to do as well).
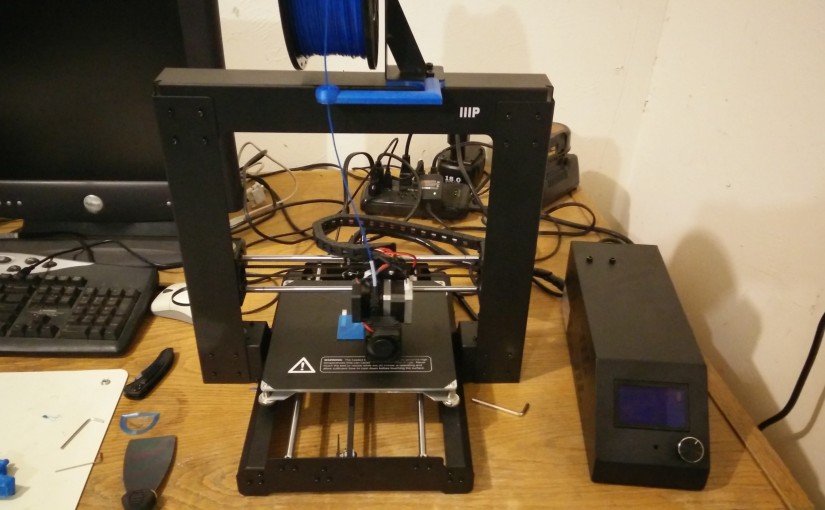
So I finally bought one. As much as I wanted a Taz 6, I just couldn’t justify the cost, but when the Monoprice Maker Select went on sale I jumped on it based on the great reviews. Once I got it I was able to set it up and had it doing test prints in less than an hour. I ended up with version 2.1 and most beginner information is targeted at the v2.0. Not a big deal, but a lot of the essential improvements aren’t applicable anymore.
I am learning a ton about why people put so many mods into their printer. It is based on a standard printer, the Wanhao Duplicator I3 so there is a lot of community support for it.
I’ll probably spend any blogging time in the immediate future going over the mods I put into it, but even right out of the box it was working great.
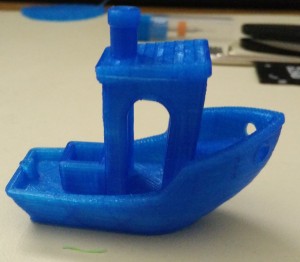
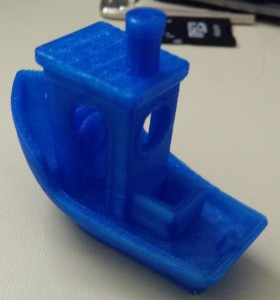
This is Benchy, a popular calibration print and I think it came out great, way better than expected, based on my experience with other cheap printers.
The one huge problem out of the box, in the v2.1 ships with a small filament holder. It is too short to hold the standard 1kg spools, so my first prints involved constantly babysitting it.
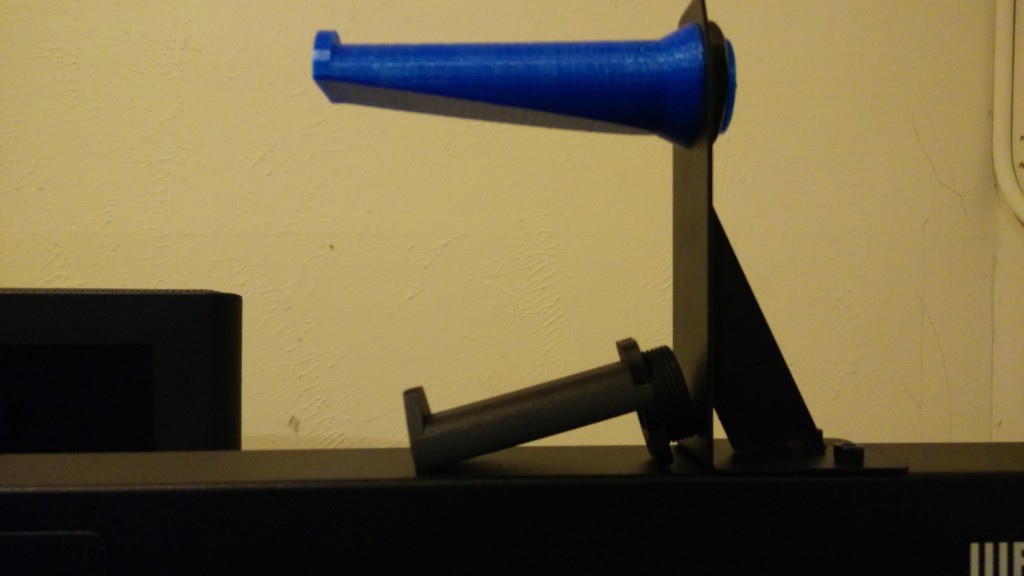
The first essential mod for this a new spool holder. The original one is beneath it so you can see how short it was.

The next problem is that the bed constantly needs to be re-leveled. Although better than v2.0, there are a series of mods that should completely resolve this:
- Locking nuts – either printed into a new thumb screw or just added to the bottom. This prevents the thumb screws from moving.
- Spring cups – Keeps the springs straight
- New Y-carriage – The one on it now is thin and will warp from the heat, making leveling harder.
I’ll do the first two sometime soon, then setup a Raspberry Pi 3 with Octoprint, then I will have to see where I want to go next. There are tons of improvements that can be made so I will just have to see what it still bugging me.
For a introduction to the system Nery’s Youtube channel is great, he prints on his Marker Select constantly and has videos on all his upgrades. This is a great first video, although not entirely applicable to the v2.1 (he is using a V2.0).
Now my backlog of things I want to print has gotten much longer as I print items to make my prints better, but that is just adds more fun!


